Advanced Visual Identity Design Systems in 2026: Build a Brand System That Scales
Start with the system, not the logo
Advanced visual identity design in 2026 is about building rules that survive size changes, channel changes, and team changes. A strong brand identity design system should define how the mark behaves, how type scales, how color holds up on screen and in print, and how every asset exports cleanly for production. Skip the pretty board. Build the operating manual.
Step 1: Define the core architecture
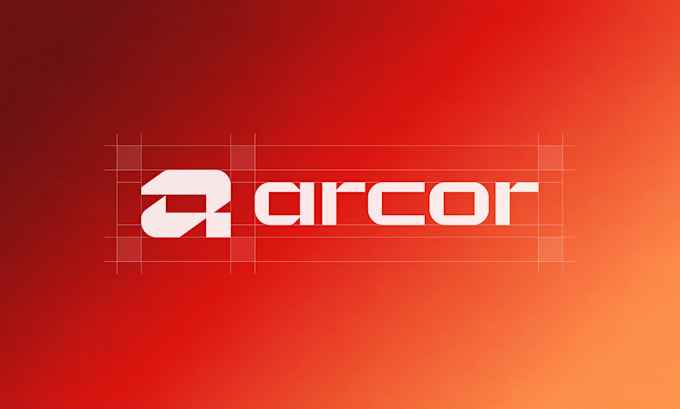
Map the brand into five parts: logo family, color system, typography, imagery rules, and layout grid. Then decide what must stay fixed and what can flex. That is the difference between a brand style guide template and a real brand guidelines template that people can actually use under pressure.
- Logo rules: primary mark, stacked version, icon, clear space, minimum size, dark/light variants.
- Color roles: primary, secondary, neutral, alert, background, accent.
- Typography roles: display, body, UI, captions, data.
- Grid rules: spacing scale, margins, alignment, component rhythm.
Step 2: Choose type with restraint
Do not pair fonts because they look “cool” together. Pair them because they solve a job. For most visual identity design systems, use one expressive display face and one highly legible workhorse. A serif plus sans pairing can work, but only if weights and x-heights are compatible. Check these basics: body text at 16–18 px on web, line height around 1.4–1.6, and enough contrast between headings and body copy to create hierarchy without shouting.
- Safe pairing rule: one family for headlines, one for body, one optional mono for data.
- Rookie mistake: using three decorative fonts and calling it “premium.” It reads messy, not premium.
Step 3: Set color with contrast, not taste
Color systems fail when they ignore accessibility. Target at least 4.5:1 contrast for normal text and 3:1 for large text and UI elements. Test light-on-dark, dark-on-light, and color-on-color states. Build a neutral base first, then add one strong brand accent and one supporting accent. That keeps the cohesive brand aesthetic intact across dashboards, pitch decks, ads, and product UI.
Step 4: Export like a production team
Every serious brand identity design package should ship in editable and scalable formats. Vector source files matter because they preserve quality and future edits.
- SVG: web and product interfaces.
- AI: master editable artwork.
- EPS: print vendors and legacy workflows.
- PDF: review and handoff.
- PNG: transparent quick-use assets, not the master.
Also request outlined and live-text versions, CMYK and RGB color builds, and named folders that separate logo, icon, social, presentation, and print assets.
Step 5: Document use cases and failure points
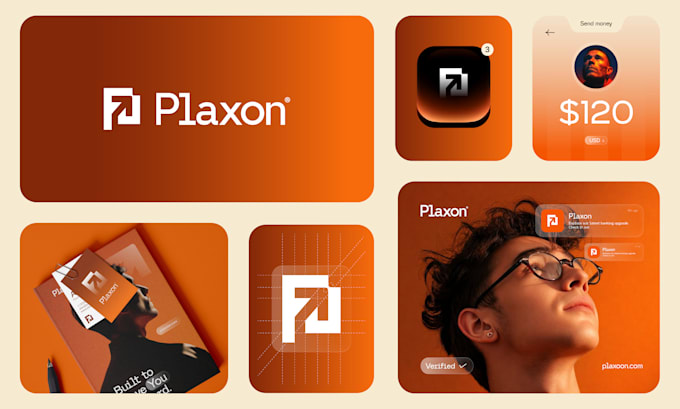
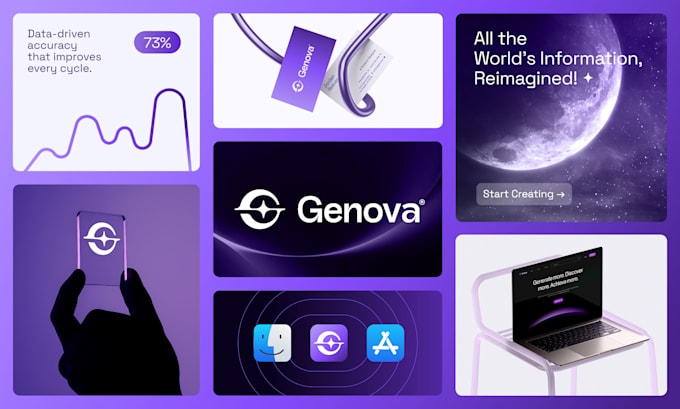
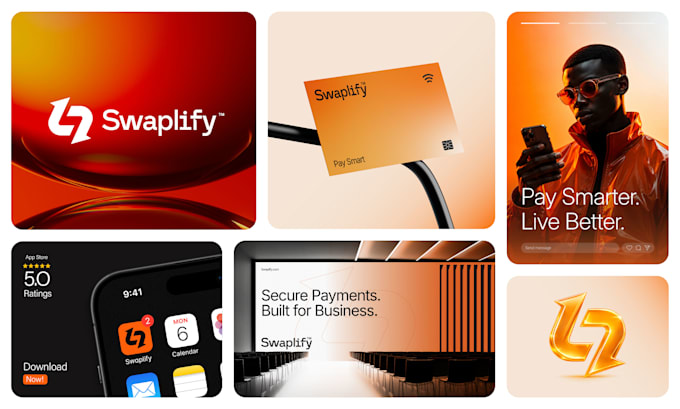
A usable system includes real examples: website header, mobile app icon, invoice footer, LinkedIn banner, slide title, and social post. Add “do not” examples too. Most rookie mistakes come from missing guardrails—stretching logos, using low-contrast text, exporting raster files too small, and forgetting how the brand behaves in tiny sizes.
If you have 20 hours to spare and want to master the nuances yourself, follow the blueprint above step-by-step. But if you need an error-free launch this week without burning your weekend, below are verified freelance specialists priced between $25 and $135 who can deliver production-ready deliverables within 24–48 hours.